When a new version of Foam is released and you are ready to upgrade you'll want to download the new zip file. As usual, leave it uncompressed and open Blender preferences.
It's recommended that you backup your foam files before Upgrading. By default, foam files are located in ~/.config/foam-blender on macOS and Linux and in %AppData%\Roaming\foam-blender on Windows. If you have added other locations in the foam preferences you should back those up too.
Note also that removing the old Add-on older than version 1.0.0 and installing the new one will clear your preferences. Take note of your foam preferences before you proceed so that you can reinstate them afterwards.
From version 1.0.0 onwards, Foam stores its preferences outside blender, in your user configuration folder (~/.config/foam-blender on *nix, %AppData%\Roaming\foam-blender on Windows). So removing and reinstalling the add-on should preserver your preferences.
Also, from 1.0.0 onwards, foam preferences will be the same across all versions of Blender if you use more than one.
Disable and remove the existing version
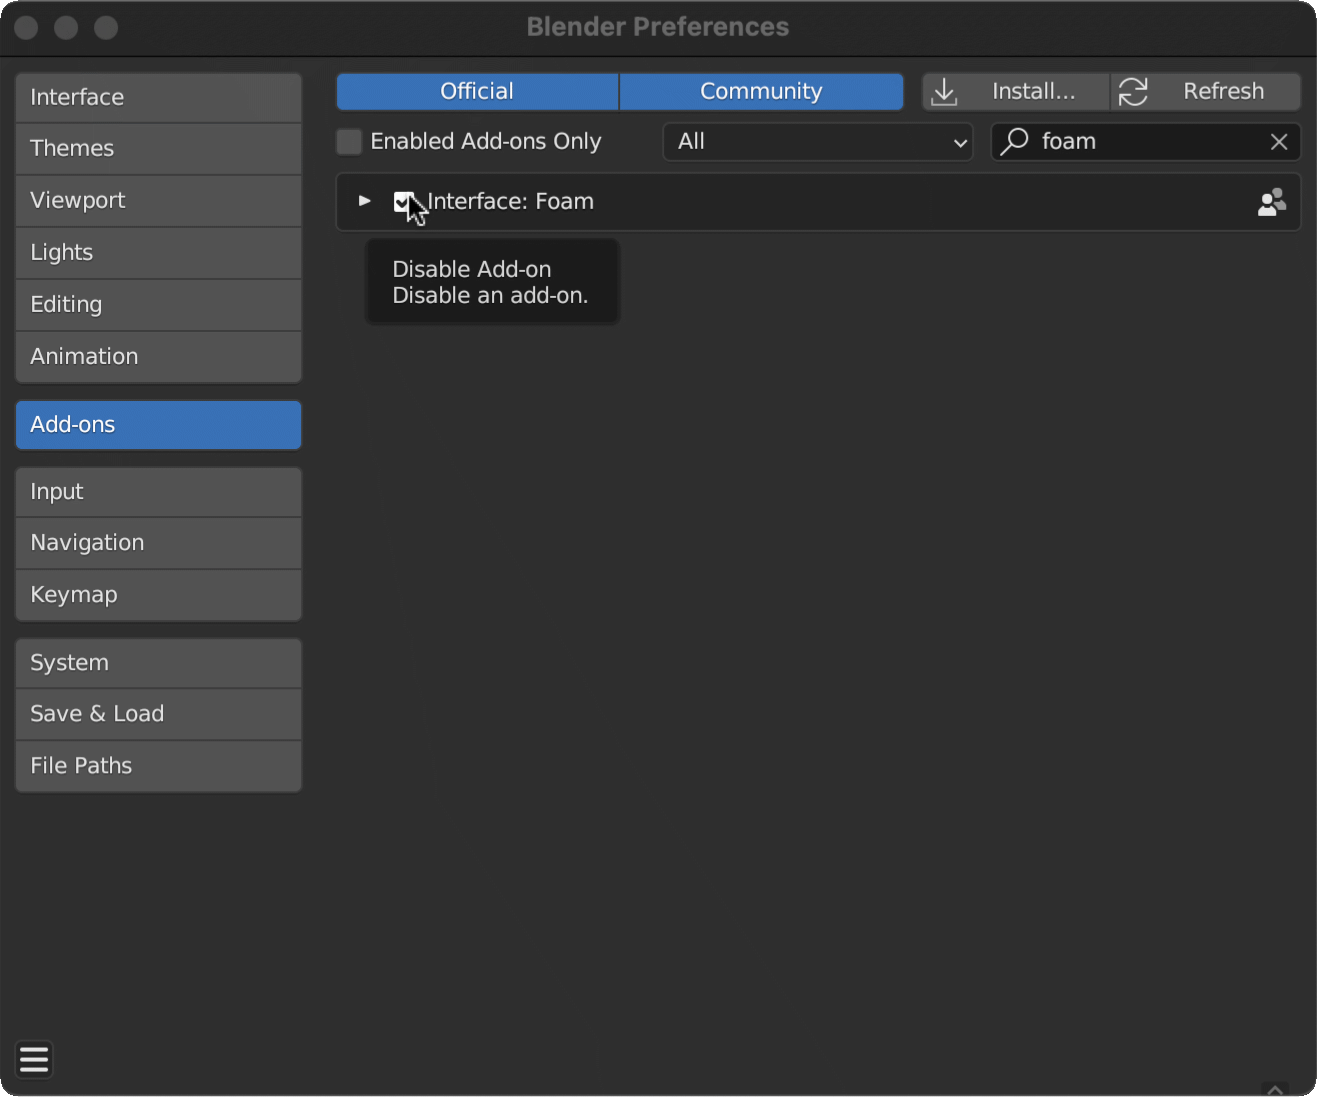
Open Blender Preferences (Edit -> Preferences), select Add-ons in the menu on the left and then search for foam in the filter at the right of the second line in the Add-ons panel.
If you don't see Foam, then it isn't installed and you can go straight to Installation to finish installing it for the first time.

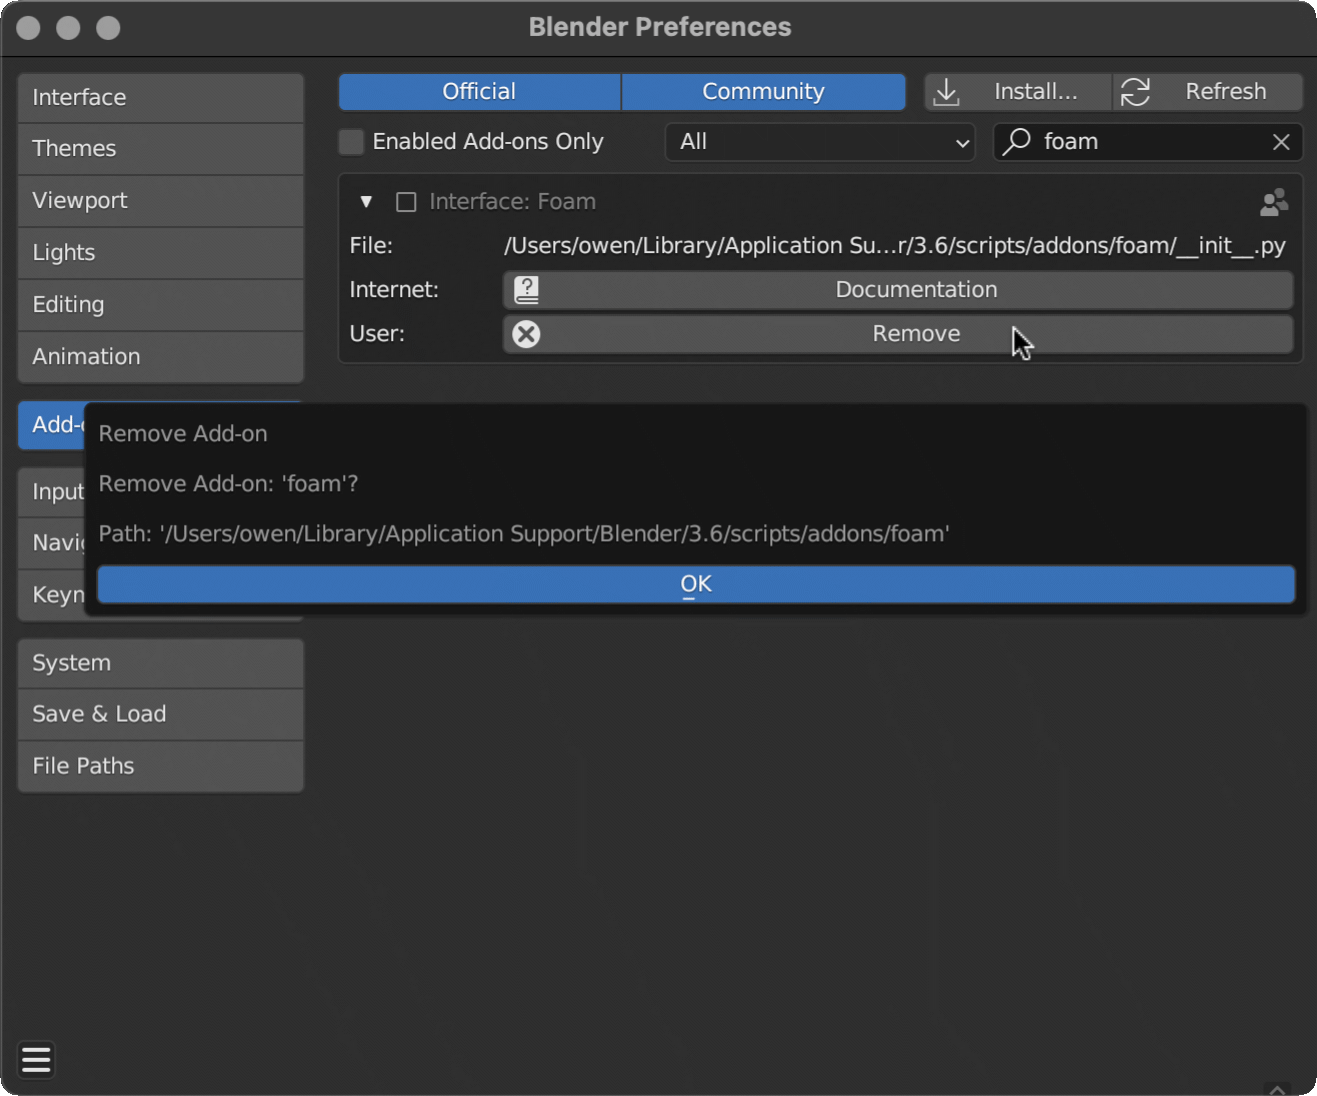
Once the add-on is disabled, open up the add-on panel by clicking on the small triangle next to the checkbox. Next to User: click the Remove button. You will see a dialog asking to confirm the action. Click OK.

If you encounter any problems with this part of the process, you can try saving your file and restarting Blender before trying the Remove step again. In particular on Windows some files may not be closed properly and you will need to restart Blender.
If your goal was simply to remove the Foam add-on then you're done. There are a number of reasons you might want to do so but If we did something wrong please let us know so we can improve things!
Now that the add-on has been removed you can go and install the newly downloaded update according to the instructions in Installation.