Almost every object in Blender and in any Add-Ons that you have installed has settings that can be changed. The Blender user interface is largely made up of controls that affect these settings. Most of these settings are made available in Foam. The quickest way to add them to a bubble is to use the Add to Foam menu item in the Right-Click context menu available in most places in the Blender UI. See Configuring Settings for more information.
Some settings are not available because Foam can't yet display them properly, because they are hidden or just not exposed yet.
For a full list of settings not discussed here see Settings Reference
Materials
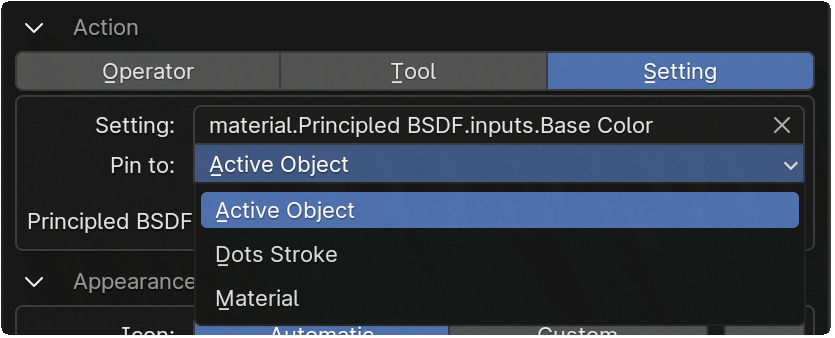
Foam can follow a path into the shader node graph and modify values. For most nodes you can right-click on the interface element and Add to Foam from the context menu. When you do this, a setting bubble is created with a path that looks like:
material.<Node Name>.inputs.<Setting Name>
 where
where <Node Name> is the name of the node as given in the n-panel Node tab. If you've added more than one node of the same type you will have fairly confusing names like Noise Texture.002 so it's a good idea to rename nodes that you wan to use with Foam.
For Input nodes like Value the third part of the path will be outputs instead of inputs. For the path think about whether the connection dot on the setting is on the left or right - left is for inputs, right for outputs.
Note that if you do change the name after creating bubbles, the paths will need to be updated and those bubbles will not be able to find their settings
Material setting bubbles will also have a Pin to option to allow you to pin the bubble to a specific material. Again if you change the name of the material after you set the pin, then the connection will be lost.
Modifiers
You can add settings from most modifiers. As with materials, the path to the setting includes the modifier name, so if the name changes the connection can be long. Modifier paths look like this:
modifier.<Modifier Name>.<Setting Name>
So for the segments on a bevel modifier the path will be modifier.Bevel.segments assuming that this is the first Bevel modifier on an object and that its name has not been changed.
Modifiers can be pinned to a particular object in the same way that Material settings can be pinned to a material.
Constraints
Constraint settings work the same as modifier settings. The path looks like:
constraint.<Constraint Name>.<Setting Name>
Bone Constraints
Bone Constraint settings work the same as modifier settings. The path looks like:
bone_constraint.<Constraint Name>.<Setting Name>
Bone Collections
Armature objects can have Bone Collections. These are exposed through
armature.collections.<Collection Name>.<Setting Name>
To set visibility on a Bone Collection named "Legs" we would use armature.collections.Legs.is_visible